Engine mounts — check and replacement
1. Engine mounts seldom require attention, but broken or deteriorated mounts should be replaced immediately or the added strain placed on the driveline components may cause damage.
Check
2. During the check, the engine must be raised slightly to remove the weight from the mounts.
3. Raise the vehicle and support it securely on jack stands.
4. Check the mounts to see if the rubber is cracked, hardened or separated from the metal plates. Sometimes the rubber will split right down the center.
5. Check for relative movement between the mount plates and the engine or frame (use a large prybar to attempt to move the engine away from the mounts). If movement is noted, check the tightness of the mount fasteners first before condemning the mounts. Usually when engine mounts are broken, they are very obvious as the engine will easily move away from the mount when pried or under load.
Replacement
6. Disconnect the cable from the negative terminal of the battery (see Engine electrical systems), then raise the vehicle and support it securely on jack stands.
7. On 5.3L and 6.2L models, remove the air cleaner inlet duct (see Fuel and exhaust systems).
8. On 4WD models, remove the interfering drive axle (see Driveline).
9. Remove the front stabilizer bar bushingтbolts and lower the bar (see Suspension and steering).
10. Remove the vacuum pump, if equipped, if you’re working on the left mount.
11. If you’re working on the left mount, it is necessary to remove the left inner fender splash shield and the exhaust manifold heat shield on most models.
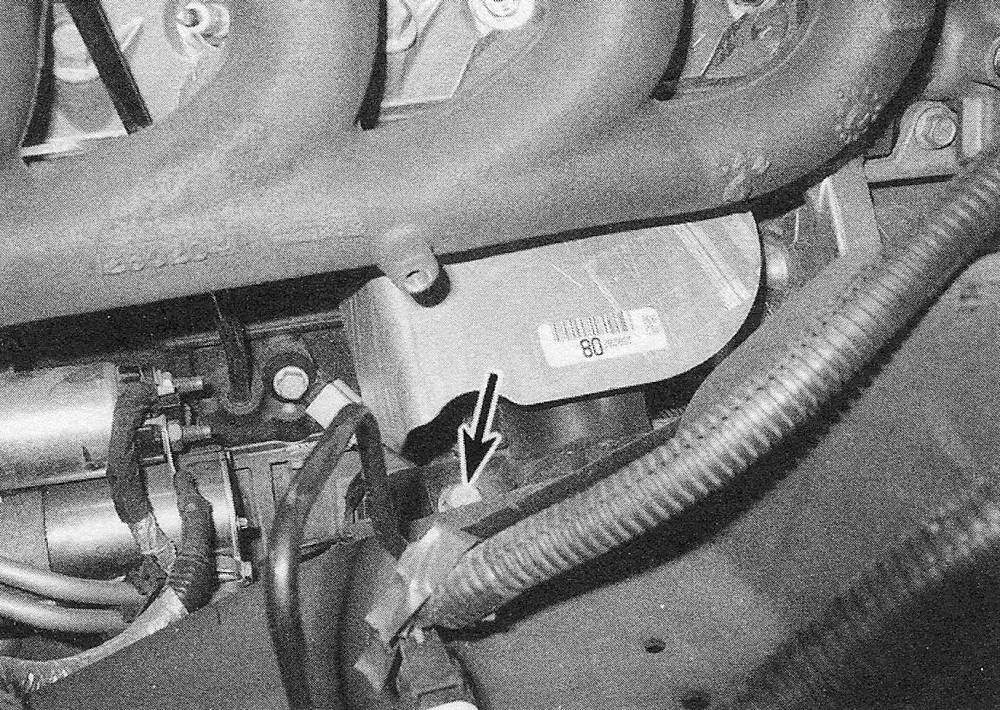
12. Remove the engine mount-to-frame bracket bolts (see illustration). There are three bolts on each side securing the mounts to the frame bracket.
18.12 One of the three engine mount-to-frame bolts, seen from above

13. Attach an engine hoist to the top of the engine for lifting; do not use a jack under the oil pan to support the entire weight of the engine or the oil pump pick-up could be damaged. If a hoist is not available, a jack can be placed under the large casting lugs on each side of the engine block at the rear (near the transmission) to support the weight of the engine while the engine mounts are being replaced. To access this lug on the right side of the engine, the starter motor will have to be removed (see Engine electrical systems).
14. Unbolt the mount from the engine block (see illustration), and raise the engine far enough to move the mount forward, then remove the mount from between the engine and the frame.
18.14 Three of the four engine mount-to-block bolts

15. Installation is the reverse of removal. Use non-hardening thread-locking compound on the mount bolts and be sure to tighten them to the torque listed in this Chapter’s Specifications.