Blower motor and control module — removal and installation
Warning: These models have airbags. Always disable the airbag system before working in the vicinity of any airbag system component to avoid the possibility of accidental deployment of the airbag, which could cause personal injury (see Chassis electrical system).
Note: These models are equipped with a control module that controls activation and fan blower speeds. The control module is mounted on the HVAC housing near the blower fan. Some models are equipped with rear auxiliary heating and air conditioning systems that have the control module mounted on the HVAC housing in the rear of the vehicle. Fuses for this system can be checked, but due to the use of an integrated electronic control module and Body Control Module that can only be tested with specialized equipment, it will be necessary to take these vehicles to a dealer service department or other qualified repair shop to have the blower motor circuit checked in the event of a problem.
Blower motor
Front blower motor (all models)
1. Disconnect the cable from the negative terminal of the battery (see Engine electrical systems). Working under the instrument panel on the passenger’s side, remove the trim panel screws and lower the panel (see illustration).
10.1 Lower trim panel screw locations

2. Disconnect the electrical connector from the blower motor (see illustration).
10.2 Blower motor electrical connector (A) and mounting screws (B)

3. Remove the mounting screws and lower the motor from the housing.
4. Installation is the reverse of removal.
Rear auxiliary blower motor
5. Remove the right-side quarter trim panels from the right rear of the vehicle for access to the rear HVAC unit (see Body).
6. Disconnect the electrical connector from the blower motor.
7. Remove the retaining screws and pull the blower motor from the case.
8. Installation is the reverse of removal.
Control module
Front blower motor control module (all models)
9. Disconnect the cable from the negative terminal of the battery (see Engine electrical systems).
10. Working under the instrument panel on the passenger’s side, remove the trim panel screws and lower the panel (see illustration 10.1).
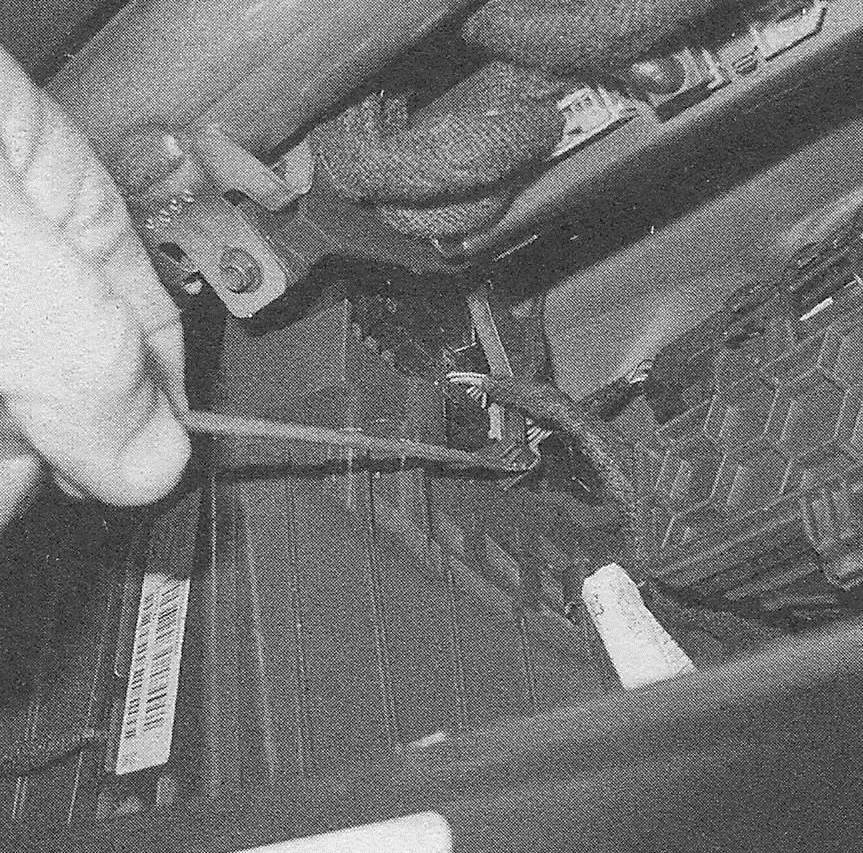
11. Using a screwdriver or pick, unclip the module retainer from the cover (see illustration).
10.11 Disengage the module retainer

12. Disconnect the control module harness connector (see illustration).
10.12 Locate the electrical connector, then disconnect the connector from the control module

13. Maneuver the control module out from the blower housing (see illustration).
10.13 Rotate the control module to the side, then remove the module

14. Installation is the reverse of removal.
Rear auxiliary blower motor module
15. Remove the right rear quarter trim panel (see Body).
16. Disconnect the control module harness connector.
17. Remove the control module mounting screws and separate the module from the blower housing.
18. Installation is the reverse of removal.