Door — removal, installation and adjustment
1. Remove the trim panel/fuse box cover from the left side of the instrument panel.
2. On front doors, remove the appropriate door sill trim and kick panel.
3. Disconnect the electrical connectors for the door wiring harness from the passenger compartment side hen pull the wire harness and the rubber grommet from the passenger compartment side of the door hinge area.
Tip: You can push the grommet and wire harness into the door cavity where it can remain until you reattach or replace the door.
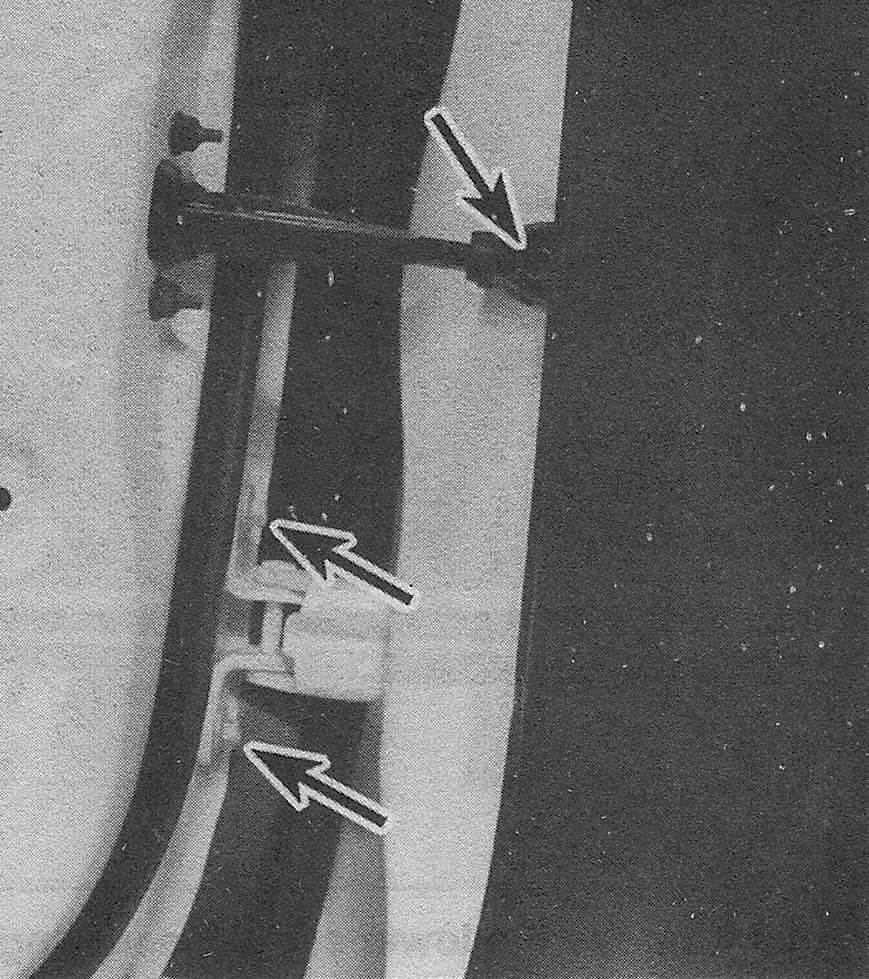
6. Remove the hinge fasteners and care- fully lift off the door (see illustration).
20.6 Lower door hinge bolts and door check strap locations

7. Installation is the reverse of removal. All components can be transferred to a replacement door if necessary.
8. Rear doors are removed and installed as described above for front doors. The door is attached to the body B pillar; the electrical connector is just inside the pillar and can be disconnected after removing the rubber conduit. On some models the connector is under the B pillar. You’ll have to remove the B pillar to gain access to the connector.
9. On access type doors for extended cab models, open the door fully and pry the plastic trim from around the hinge’s rearward, then remove it. Detach the rubber conduit and disconnect any electrical connectors, if equipped. Remove the hinge-to-door bolts leaving the hinges attached to the C pillar.