Brake hoses and lines — check and replacement
1. About every six months, with the vehicle raised and placed securely on jack stands, the flexible hoses which connect the steel brake lines with the front and rear brake assemblies should be inspected for cracks, chafing of the outer cover, leaks, blisters and other damage. These are important and vulnerable parts of the brake system and inspection should be complete. A light and mirror will be needed for a thorough check. If a hose exhibits any of the above defects, replace it with a new one.
Flexible hoses
Note: The replacement hose must be an exact duplicate of the original and have all of the appropriate brackets, if equipped.
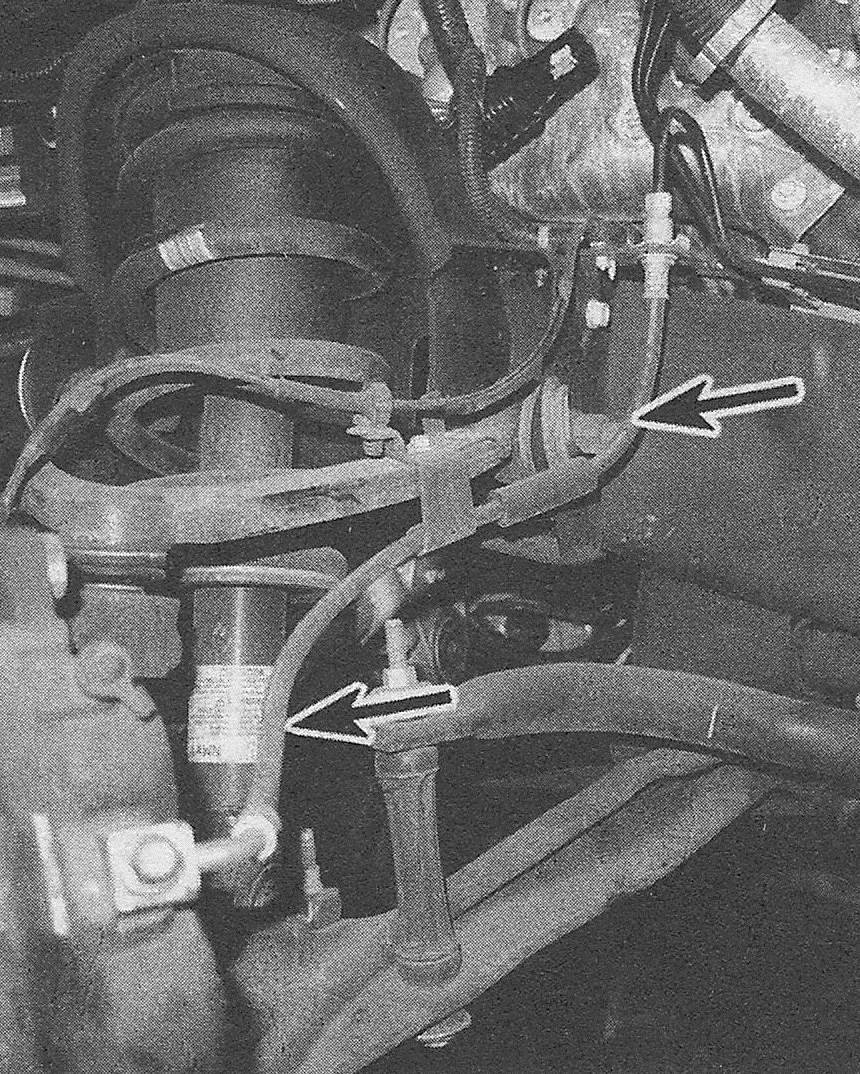
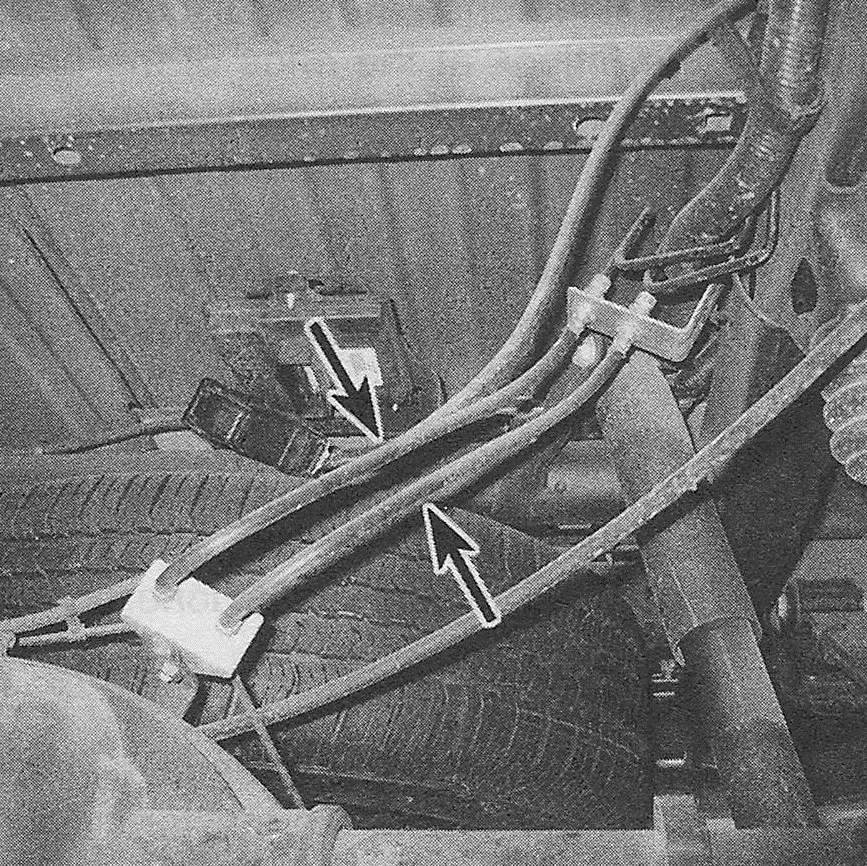
2. Clean all dirt away from the ends of the hose (see illustrations).
8.2a A front brake hose on a 4WD model ( other models similar)

8.2b Rear brake hose from hard line on axle to caliper

8.2c Rear brake hoses above the rear axle housing

3. Disconnect the brake line from the hose fitting (se illustration). Be careful not to bend the frame bracket or line. If necessary, soak the connections with penetrating oil.
8.3 Brake hose fitting details:
1 Metal tube nut (unscrew first — use a flare-nut wrench here)
2 Retaining clip (pull straight out with pliers to release the hose fitting from the bracket)
3 Brake hose fitting (hold with an open-end wrench while loosening the tube nut)

4. Remove the U-clip from the female fitting at the bracket and remove the hose from the bracket.
5. Follow the hose’s path and remove any mounting fasteners for brackets that secure it to other components.
6. On models where the hose is connected directly to the caliper, disconnect the hose fitting from the caliper by removing the banjo bolt. Discard the copper washers on both sides of the fitting. Use new copper washers and attach the new brake hose to the caliper.
7. Route the hose exactly as the original one was and mount any hose brackets that secure the hose to other components, as equipped.
8. Pass the female fitting through the frame or frame bracket. With the least amount of twist in the hose, install the fitting into position.
9. Install the U-clip in the female fitting at the frame bracket.
10. Using a back-up wrench on the fitting, attach the brake line to the hose fitting. Tighten the tube nut securely.
11. Confirm that the replacement hose follows the same path as the original one. This will avoid contact with moving suspension or steering components.
12. Bleed the brake lines as described in Brake hydraulic system — bleeding.
Metal brake lines
13. When replacing brake lines, be sure to use the correct parts. Don’t use copper tubing for any brake system components. Purchase steel brake lines from a dealer parts department or auto parts store.
14. Prefabricated brake lines, with the ends already flared and fittings installed, are available at auto parts stores and dealer service departments. If necessary, carefully bend the line to the proper shape. A tube bender is necessary for this. Do not crimp or damage the line.
15. When installing the new line, make sure it’s well supported in the brackets and has plenty of clearance between moving or hot components.
16. After installation, check the brake fluid reservoir level and add fluid as necessary (see Tune-up and routine maintenance). Bleed the brake system as outlined in Section Brake hydraulic system — bleeding and confirm that the brakes are fully operational before resuming normal driving.