Radio and speakers — removal and installation
Warning: The models covered by this manual are equipped with a Supplemental Restraint System (SRS), more commonly known as airbags. Always disarm the airbag system before working in the vicinity of any airbag system component to avoid the possibility of accidental deployment of the airbag, which could cause personal injury (see Airbag system — general information and precautions).
Radio
1. Remove the center trim bezel plate (see Body).
2. Remove the radio control fasteners (see illustration).
12.2 Radio assembly screw locations

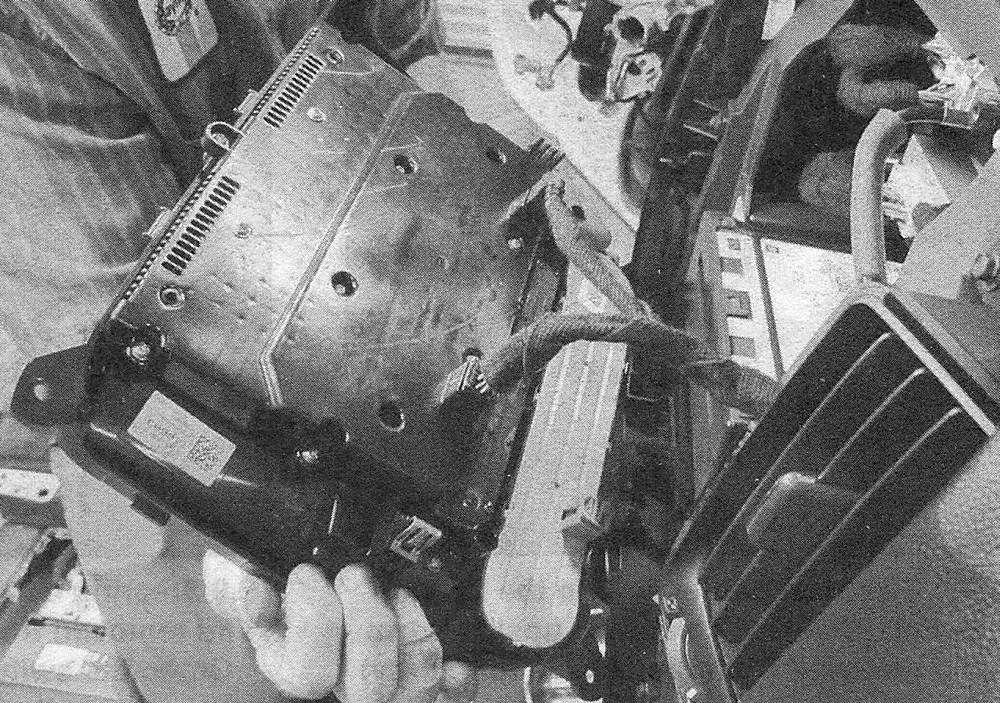
3. Pull the radio assembly out of the dash and disconnect the electrical connections (see illustration).
12.3 Tilt the radio assembly down to expose the electrical connections

Note: Replacing the radio with another stock radio will require programming. See the ap- propriate repair facility for programming.
4. Installation is the reverse of removal.
Disc player
5. Remove center trim panel (see Body).
6. Locate the screws for the disc player and remove them (see illustration).
12.6 Screw locations

7. Pull the disc player out and disconnect the electrical connections (see illustration).
12.7 Depress the retaining tab ad disconnect the electrical connector

8. Installation is the reverse of removal.
Speakers Door speakers
9. Remove the door trim panel (see Body).
10. Remove the speaker mounting screws (see illustration).
12.10 Door speaker screw locations

11. Pull out the speaker and disconnect the electrical connector.
12. When installing the speaker, make sure that the lower mounting flange of the speaker is aligned with and fits inside the lower edge of the speaker mounting hole in the door.
13. Installation is otherwise the reverse of removal.
Dash speakers
14. Remove the defroster grille (see Body).
15. Remove the two screws that secure the speaker to the dash.
16. Raise the speaker up to gain access to the wires and disconnect the connector. Secure the wire and connector from falling back into the dash.
17. Installation is the reverse of removal.
Console speaker
18. Remove the center console (see Body).
19. Remove the three screws securing the console speaker to the console.
20. Disconnect the electrical connectors.
21. Installation is the reverse of removal.