Air conditioning condenser — removal and installation
Warning: The air conditioning system is under high pressure. DO NOT loosen any fittings or remove any components until after the system has been discharged. Air conditioning refrigerant must be properly discharged into an EPA-approved container at a dealership service department or an automotive air conditioning repair facility. Always wear eye protection when disconnecting air conditioning system fittings.
Note: The refrigerant desiccant should be replaced if the condenser was damaged, causing the system to be open for some time (see Driveplate — removal and installation).
1. Have the air conditioning system dis- charged by an automotive air conditioning technician (see Warning above).
2. Remove the plastic cover over radiator support (see Radiator grille — removal and installation).
3. Remove the headlight housings (see Chassis electrical system).
4. Remove the condenser upper mounting bolts and bracket retaining nut (see Oil pan — removal and installation) from the radiator.
5. (See illustration) Remove the radiator support (see illustrations 6.10a and 6.10b).
6. Unclip, then remove the radiator air baffle (see illustration 6.11).
7. Remove the condenser bracket mounting nut and pull the bracket off of the stud.
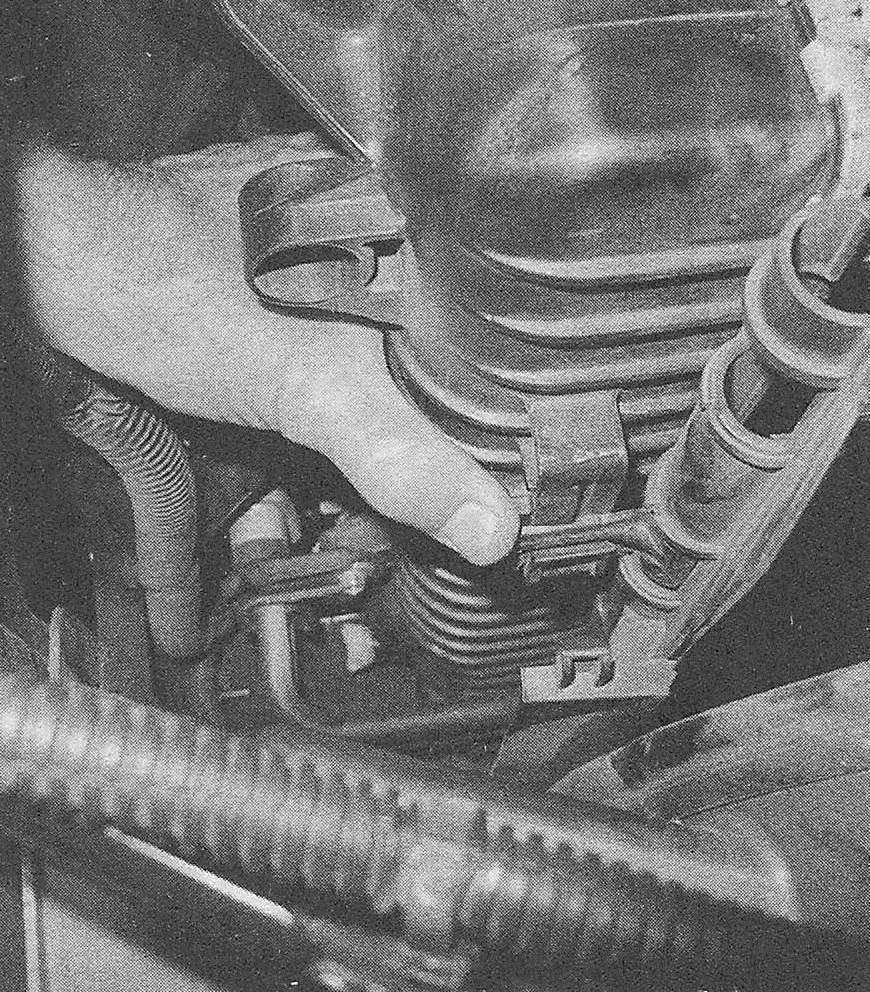
8. Unclip the left and right-side air baffles from the condenser (see illustration).
14.8 Push the tab forward, then lift the baffle out of the clip

9. Disconnect the air conditioning lines to the condenser. Plug the open fittings to prevent the entry of dirt and moisture, and discard the 0-rings between the refrigerant lines and condenser.
10. Depress the condenser retaining tabs and carefully lift the condenser off of the radiator.
11. If a new condenser is being installed, pour two ounces of R-134a or R-1234yf-compatible refrigerant oil into it prior to installation.
Caution: The oil used must be labeled as compatible with R-134a or R-1234yf refrigerant systems.
12. Installation is the reverse of removal. When installing the lines to the condenser, use new seals lubricated with clean refrigerant oil, and tighten the bolt securely.
13. Have the system evacuated, recharged and leak tested by the shop that discharged it.