Drivebelt check and replacement
1. The drivebelt (s) are located at the front of the engine and play an important role in the overall operation of the engine and its components. Depending on the year and engine used, several configurations are available ranging from a single belt to multiple belts. Due to their function and material make up, the belts are prone to wear and should be periodically inspected. The belt(s) drive the alternator, power steering pump, water pump, vacuum pump and air conditioning compressor. Although the belts should be inspected at the recommended intervals, replacement may not be necessary for more than 100,000 miles.
Check
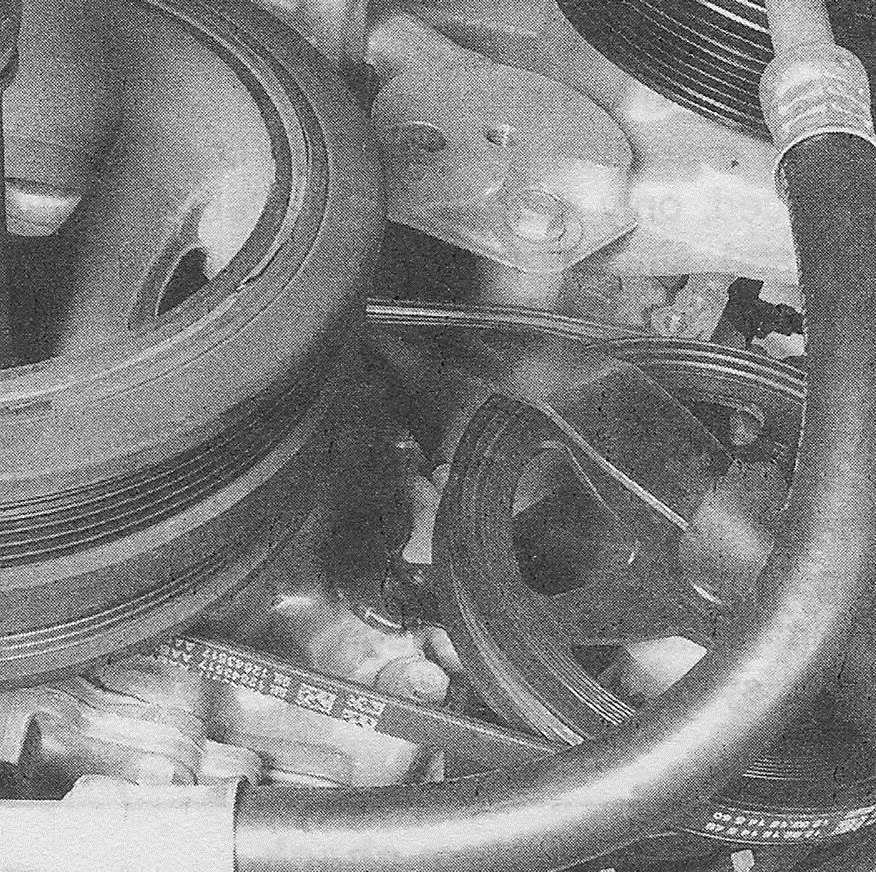
2. The tension of the belt for the alternator, power steering and water pump is automatically adjusted by the belt tensioner and does not require any adjustments. The drivebelt for the air conditioning compressor or vacuum pump has no tensioner, it uses a «stretchy» belt.
3. With the engine stopped, inspect the full length of the drivebelt (s) for cracks and separation of the belt plies. It will be necessary to turn the engine (using a wrench or socket and breaker bar on the crankshaft pulley bolt, working clockwise only) in order to move the belt from the pulleys so that the belt can be inspected thoroughly. Check for fraying, and glazing which gives the belt a shiny appearance. Check the pulleys for nicks, cracks, distortion and corrosion.
4. Note that it is not unusual for a ribbed belt to exhibit small cracks in the edges of the belt ribs, and unless these are extensive or very deep, belt replacement is not essential (see illustration).
12.4 Small cracks in the underside of a V-ribbed belt are acceptable — lengthwise cracks, or missing pieces that cause the belt to make noise, are cause for replacement

Replacement
Accessory drivebelt (alternator, water pump and power steering pump, if equipped)
5. Remove the air intake duct (see Air intake duct and air filter housing — removal and installation).
6. Note how the drivebelt is routed, then insert a 1/2-inch square drive breaker bar into the tensioner pulley square hole. Rotate the tensioner counterclockwise (see illustrations) to release the drivebelt tension. Once tension has been released, remove the belt from the pulleys. Once the outer belt has been removed, the air conditioning belt and vacuum pump belt can be accessed.
12.6a V6 engine accessory drivebelt tensioner details
1 Square drive
2 Rotate counterclockwise to release tension
3 Tensioner mounting bolt

12.6b V8 engine accessory drivebelt tensioner details
1 Square drive
2 Rotate counterclockwise
3 Tensioner mounting bolt

7. Install the new drivebelt onto the crank- shaft, idler, alternator, power steering pump and water pump pulleys, then turn the tensioner back and locate the drivebelt on the tensioner pulley. Make sure that the drivebelt is correctly seated in all of the pulley grooves, then release the tensioner. Reinstall the air filter duct.
Air conditioning compressor drivebelt
8. Remove the accessory drivebelt (see Steps 5 and 6).
9. Remove the engine splash shield (see Engine oil and filter change).
10. Using a pair of diagonals cutting pliers, cut the air conditioning belt to remove it.
Note: Some tool manufacturers make air conditioning compressor belt removal tools that can remove the belt without cutting it off. We only recommend using this type of tool if the belt if relatively new. Always check the belt for damage after the removal process.
11. Place the new belt on the crankshaft pulley, making sure the belt is fully seated in the pulley grooves.
12. Place the installation tool on the compressor pulley, then loop the belt over the tool.
13. Rotate the crankshaft pulley and allow the tool to turn, which will lift the belt onto the pulley (see illustration).
12.13 Install the belt installation tool and rotate the crankshaft pulley until the belt is lifted onto the pulley

14. The remainder of installation is the reverse of removal.
Vacuum pump drivebelt
15. Remove the accessory drivebelt (see Steps 5 and 6).
16. Remove the air conditioning compressor pump belt (see Steps 9 and 10).
17. Using a pair of diagonals cutting pliers (see illustration), cut the vacuum pump belt to remove it.
12.17 Cut the vacuum pump belt to remove it

18. An alternative way to remove the belt without cutting it off is to place an angled scraping tool between the belt and the pulley (see illustration), then rotate the crankshaft pulley until the belt is removed from the pulley. We only recommend trying this if the belt if relatively new. Always check the belt for damage after the removal process.
12.18 Place an angled scraping tool between the belt and the top of the pulley

19. Place the new belt on the crankshaft pulley, making sure the belt is fully seated in the pulley grooves.
20. Start the belt on the lower edge of the vacuum pump, then rotate the crankshaft pulley and allow the belt to be pulled onto the pulley (see illustration).
12.20 Install the belt onto the pulley while pressing toward the pulley and rotate the crankshaft pulley until the belt is lifted over the lip of the pulley

21. The remainder of installation is the reverse of removal.
Drivebelt tensioners
Drivebelt tensioner
22. Remove the drivebelt (see Steps 5 and 6).
23. Remove the bolt (s) securing the tensioner to the engine (see illustrations), then detach the tensioner from the engine.
12.23a Drivebelt tensioner (accessory) mounting bolt location- 4.3L models shown, 5.3L and 6.2L models similar

12.23b Drivebelt tensioner (accessory) mounting bolts 6.0L models
